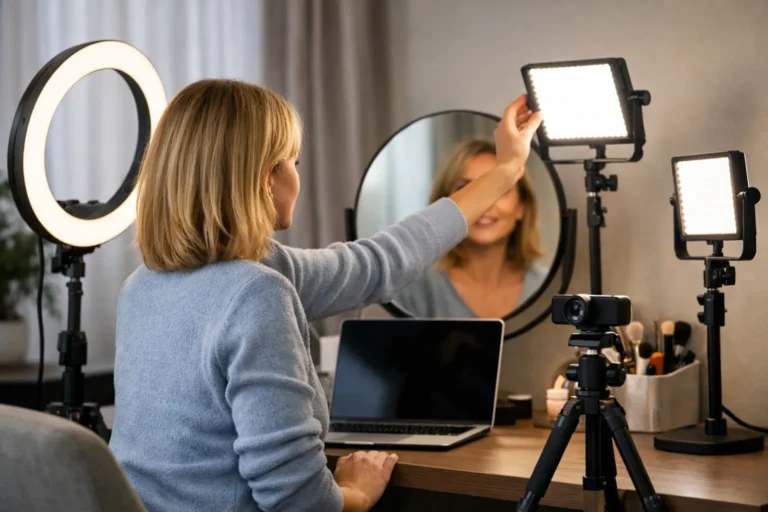
A poor camera angle can be forgiven. Harsh shadows, a washed-out face or a dark room are harder to overcome. The best lighting for cam shows makes you look clear, confident and inviting before you say a word – and that first impression can affect how long viewers stay, tip and return.
You do not need a professional studio or a huge equipment budget to create a high-value look. You need light placed with intention. The right setup adds definition, brings out your best features and gives your stream the polished feel that helps you stand out in a busy category.
Why lighting matters to your cam income
Your webcam captures less detail than your eyes do. In low light, it compensates by adding grain, softening the image and struggling to focus. A ceiling light can cast unflattering shadows under your eyes and chin, while a bright window behind you can turn you into a silhouette.
Good lighting fixes those problems. It helps viewers see your expressions, outfits and set clearly, which makes the room feel more personal and professional. It also reduces the need for heavy filters. Filters can be fun, but a clean, well-lit image builds more trust than an effect trying to rescue a dark feed.
Think of lighting as part of your earning setup, not an optional extra. It is one of the few upgrades that improves every show, whether you are online for an hour after work or building a full-time cam career on your own terms.
The best lighting for cam shows starts with soft front light
For most models, the strongest place to start is a soft LED light positioned in front of you, slightly above eye level. This creates an even glow across your face without the sharp shadows that make a stream look flat or unforgiving.
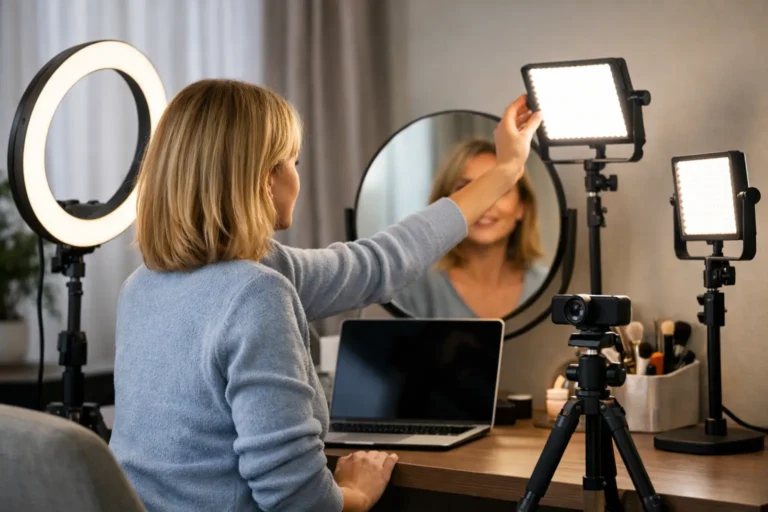
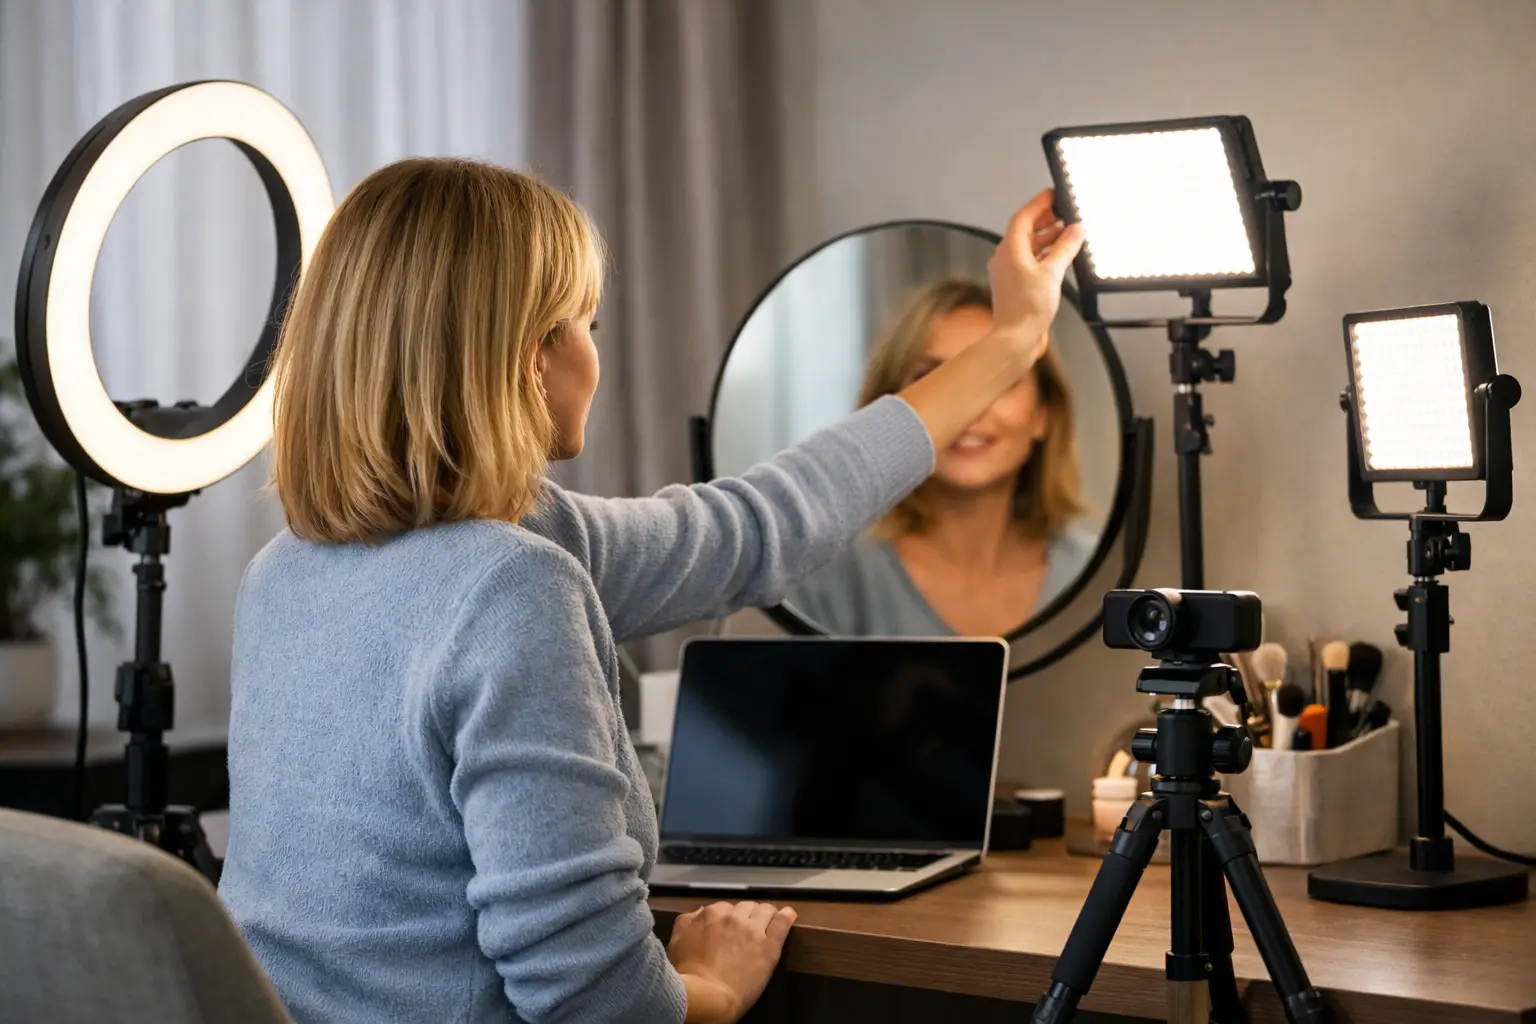
A ring light is popular because it is affordable, easy to position around a webcam or phone, and friendly for beginners. Choose one with adjustable brightness and colour temperature. Put it about an arm’s length away, then lower the brightness until your skin looks naturally lit rather than overly shiny.
A small LED panel can be even more flattering than a ring light. Panels spread light more evenly, especially when they have a diffuser. If you use two panels, place one as your main light at roughly a 45-degree angle from your face and the other on the opposite side at lower brightness. This gives your face shape while keeping shadows soft.
Do not place a powerful light directly below your face. It creates dramatic shadows that rarely look good on camera. Keep your main light at or just above eye level instead.
Choose a warm-neutral colour temperature
Colour temperature changes the mood of your room and the way skin tones appear. For cam shows, aim for a warm-neutral setting around 4,000K to 5,000K. It looks clean and flattering without the icy blue cast of very cool light.
Warm light around 3,000K can create a cosy, intimate atmosphere, particularly for evening streams. However, if it is too orange, it can make white bedding, walls and clothing look yellow. Daylight settings around 5,500K can look crisp, but may feel stark depending on your room and complexion.
The right choice depends on your décor, skin tone and the image you want to create. Test your usual makeup and favourite outfits on camera before committing. What looks beautiful in the mirror may read differently through your webcam.
Build a simple three-light setup when you are ready
Once you are earning consistently, a basic three-light arrangement can make your room look far more expensive than it is. You do not need to buy everything at once. Start with your key light, then add the other pieces as your budget grows.
Your key light is the main light in front of you. Your fill light sits on the other side and softens any remaining shadow. Finally, a backlight behind you, aimed gently towards your hair or shoulders, separates you from the background and adds depth to the picture.
The backlight should be subtle. If it is too bright, it becomes a distracting halo or causes your camera to dim your face. A small lamp or dimmable LED panel is usually enough.
If you have a very small room, you may not have space for full-sized stands. Clip-on lights, compact panels and desk-mounted arms can give you similar control without turning your bedroom into a production set.
Use background lighting to create a memorable room
Your face should always be the brightest point in the frame. Background lighting is there to create atmosphere, not compete for attention. A soft lamp in the corner, gentle fairy lights or an LED strip behind a headboard can make the room feel styled and intentional.
Keep colours simple. Warm white suits almost every room. Pink, purple and red can work well for a more playful or seductive mood, but avoid mixing several intense colours at once. Too much coloured light can confuse your webcam’s white balance and make skin tones look unnatural.
A good rule is to use one accent colour at a time. If your background is purple, keep the light on your face neutral. That contrast helps you remain the focus of the show.
Make natural light work without depending on it
Daylight can be flattering, free and beautifully soft when it comes through a window. Position yourself facing the window or at a slight angle to it, never with the window directly behind you. A sheer curtain can diffuse bright sunlight and prevent harsh lines across your face.
The downside is consistency. British weather changes quickly, and daylight disappears early in winter. If you cam at different times or want reliable image quality, natural light should support your setup rather than replace it. A dimmable LED lets you keep your look consistent from one stream to the next.
Avoid the lighting mistakes that cost you quality
The most common mistake is relying on one overhead room light. It may brighten the space, but it does little for your face. Switch it off during your camera test and compare the result with a soft front light. The difference is usually immediate.
Another mistake is over-lighting. More brightness does not automatically mean better video. Excessive light can wash out your complexion, erase definition and make your camera struggle with highlights. Turn each light on one at a time and adjust from there.
Also avoid mixing every lamp in your room. A cool LED, yellow bedside lamp and daylight from a window can create odd patches of colour. Wherever possible, match your bulbs and LEDs to a similar colour temperature.
Finally, do not judge your setup only by how it looks off camera. Open the platform preview or make a private test recording. Sit where you normally sit, move as you would during a show and check the image on both your computer and phone. Look for shadows, glare on glasses, shiny areas, dark corners and distracting reflections.
Affordable lighting choices that actually make a difference
Your first lighting purchase should be a dimmable ring light or LED panel with adjustable warmth. That one upgrade will generally do more for your stream than decorative lighting, expensive furniture or a new backdrop.
When choosing a light, prioritise adjustability over maximum power. You want brightness control, colour-temperature control and a stable stand. A remote control is useful if you change mood or position during shows, but it is not essential.
If your budget is tight, begin with one good front light and use a lamp with a matching bulb as a gentle fill. White foam board or a pale wall can also reflect some light back onto the shadowed side of your face. It is a low-cost trick, but it works.
Spend more only when your current setup limits you. Two soft LED panels are worthwhile if you move around a larger space, stream from a bed or sofa, or want a more editorial look. For close-up, desk-based shows, one carefully placed light can be enough.
Set your lighting for your style, not someone else’s
There is no single setup that flatters every model. A bright, clean setup may suit a chatty daytime personality, while a warmer, lower-lit room may better match a slower evening vibe. Your lighting should support your brand, your boundaries and the type of audience you want to build.
Keep the camera image honest but elevated. Viewers should recognise you when you change position or switch on at a different time of day. Consistency creates a professional feel, and professional presentation gives you more confidence to price your time, set your schedule and earn BIG on your terms.
Give yourself one focused hour to test angles, brightness and background colour before your next show. Once your lighting works for you, you can stop worrying about the screen and put your energy where it pays – connecting with viewers as a confident, independent model in control.
About the Author