Your first stream does not need a designer room, a premium camera, or a shopping basket full of gadgets. It needs a setup that looks clear, feels flattering, and helps you show up with confidence. The best webcam setup for beginners is usually the one that gets you online quickly, keeps your costs sensible, and still gives viewers a polished experience worth paying for.
That matters because cam work is not about owning the most expensive kit. It is about creating a space where you feel in control, look your best, and can start earning without turning setup into a months-long project. If you are new, simple beats complicated every time.
What the best webcam setup for beginners really needs
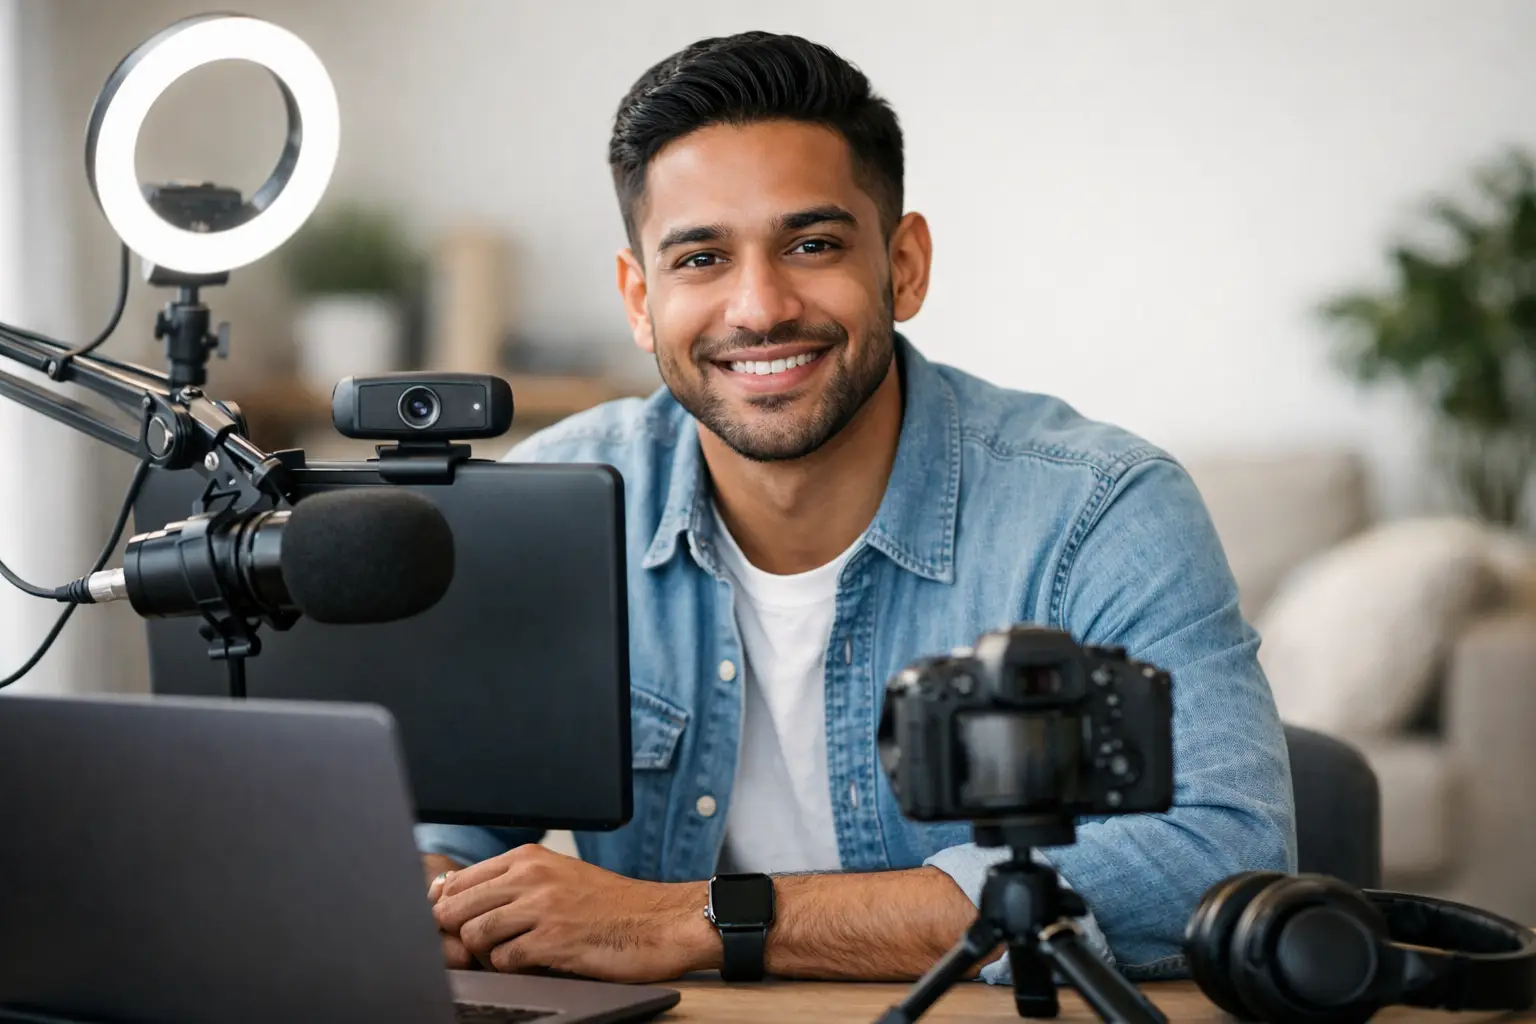
Beginners often assume the webcam is the whole setup. It is not. A strong cam room is built from four things working together: image quality, lighting, sound, and background. If one of those is weak, the whole stream feels less professional.
The good news is that you do not need top-end gear in every category. In fact, overspending early on can be a mistake. Until you know your style, audience, and earning rhythm, the smartest move is to build a clean, reliable setup that can be upgraded in stages.
Think of your first setup as your income starter pack. It should be easy to use, flattering on camera, and stable enough that you are not constantly fixing problems mid-show.
Start with the camera, but do not overspend
If you are choosing the best webcam setup for beginners, start with a decent HD webcam. For most new models, 1080p is the sweet spot. It looks clear enough for paid shows and private sessions, but it does not demand the same internet speed or lighting control as higher resolutions.
A beginner does not usually need a 4K webcam straight away. On paper it sounds better, but in practice it can be less forgiving. Higher detail means poor skin texture, messy backgrounds, and weak lighting become more obvious. If your room and lighting are basic, a good 1080p camera often gives a more flattering result.
Position matters as much as camera quality. Place the webcam at eye level or slightly above. Too low, and the angle is unflattering. Too high, and it can feel distant or awkward. You want a natural framing that keeps you looking confident, relaxed, and in control.
If you already own a modern laptop, its built-in camera may be enough to test the waters, but it is rarely the best long-term choice. External webcams tend to give sharper detail, better low-light performance, and more flexibility with positioning.
Lighting is what makes you look expensive
This is where beginners get the biggest upgrade for the least money. A mid-range webcam with strong lighting will usually look better than a costly webcam in a dim room. If your budget is limited, put serious thought into lighting before anything else.
Natural daylight can work, especially if your room gets soft, even light. The problem is consistency. British weather is not exactly famous for reliability, and if you plan to work evenings, daylight is not going to help. For that reason, most beginners do better with simple artificial lighting.
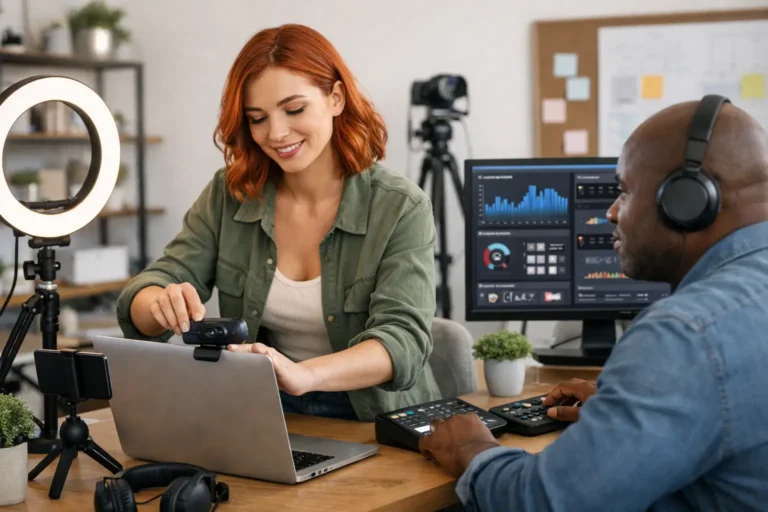
A ring light is popular because it is easy. It gives even frontal light, brightens the eyes, and reduces harsh shadows. That said, it can also flatten your face if it is too strong or placed too close. Softbox lights or LED panel lights often give a more balanced result, but they take up more space.
For most new cam models, one main light in front and slightly above eye level is a solid starting point. If shadows still look harsh, add a second softer light to the side. Warm white or neutral tones are usually more flattering than very cold light, which can make skin look washed out.
Test your lighting sitting down, standing up, and in any area of the room you plan to use. A setup that looks great in one chair can fall apart the moment you move.
Sound matters more than most beginners expect
Viewers will forgive average video sooner than they will forgive bad sound. If your stream crackles, echoes, or sounds distant, it lowers the overall quality fast. That can affect tips, engagement, and how professional you seem.
A built-in laptop microphone is usable at a push, but it often picks up room noise, keyboard clicks, and that hollow sound people associate with cheap video calls. A simple USB microphone can make a noticeable difference without making your setup complicated.
If you are not ready to buy one straight away, focus on reducing noise in the room. Close windows, mute devices, and avoid hard, echo-heavy spaces. Soft furnishings help. Curtains, bedding, rugs, and cushions can all make a room sound better without looking technical.
You do not need studio-level audio. You just need to sound clear, close, and pleasant to listen to.
Your background should look intentional, not accidental
A messy room can make even a good camera look amateur. The background does not need to be luxury. It needs to feel tidy, attractive, and consistent with the kind of brand you want to build.
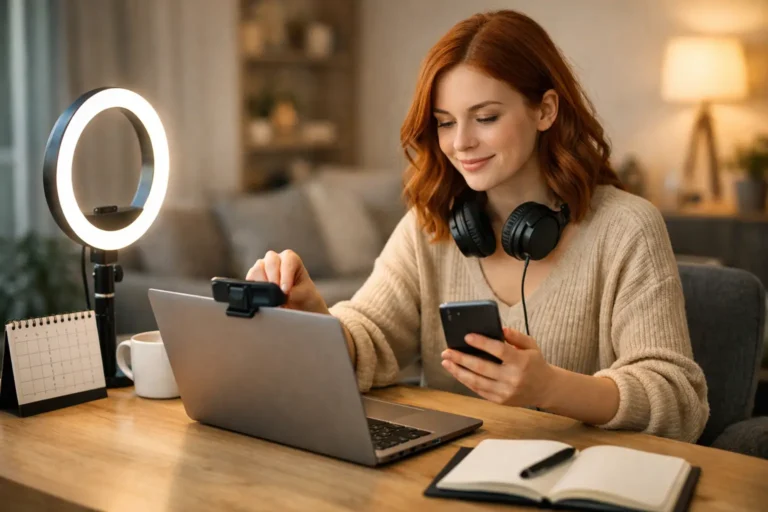
For beginners, the easiest option is to keep the visible area simple. Clean bedding, uncluttered surfaces, flattering colours, and a few visual touches go a long way. Think mood rather than chaos. Soft lighting, neat décor, and a clear focal point help your room feel camera-ready.
There is a trade-off here. A very plain background can feel clean and professional, but it may also look generic. A more styled background can feel memorable, but if you add too much, it becomes distracting. Aim for a space that supports you rather than competes with you.
If privacy is a concern, be careful about mirrors, windows, personal paperwork, or anything that reveals too much about where you live. Being confident on camera also means protecting your boundaries offline.
Internet and stability are non-negotiable
If your stream freezes or drops out, no webcam in the world can save it. Before you spend heavily on gear, make sure your internet is strong enough for live broadcasting. A stable connection is more valuable than a fancy upgrade that your broadband cannot support.
Wired internet is usually better than Wi-Fi if that is an option. If not, work as close to your router as possible and test your connection at the times you actually plan to stream. Evening speeds can differ from daytime speeds, especially in shared households.
Also think about power and positioning. Keep chargers nearby, avoid wobbly stands, and check that nothing is likely to fall over once you start moving around. You want a setup that stays reliable through a full session, not just five minutes of testing.
A realistic beginner budget
You can start with less than many people think. A beginner-friendly setup often includes a 1080p webcam, one decent light, a tidy background, and either a basic USB microphone or a quiet room. That is enough to get online and start learning what actually improves your earnings.
If money is tight, prioritise in this order: lighting first, then camera, then sound upgrades. That order gives the biggest visible improvement for most people. A lot of new models waste money on the camera and then wonder why they still look dull on screen.
The smart approach is to let your earnings fund your upgrades. Once you know you enjoy the work and want to do more of it, you can invest in better lights, extra angles, props, or improved audio.
The setup that suits your style
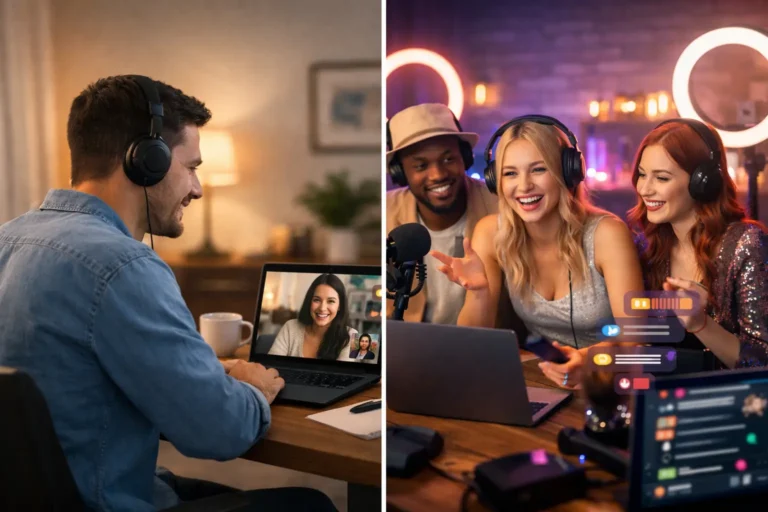
There is no single perfect room for everyone. A chat-focused model may benefit from a cosy seated setup with flattering face lighting and crisp audio. A more performance-led model may need more floor space, wider framing, and stronger full-body lighting. Your ideal setup depends on how you plan to work.
That is why beginners should avoid copying another model’s room exactly. What looks great for one person may not fit your body type, personality, budget, or content style. Build around what makes you feel powerful and comfortable on camera. Confidence is visible, and viewers respond to it.
If you are aiming to start quickly and earn from home on your terms, your setup should remove friction. The easier it is to switch on, go live, and feel ready, the more likely you are to stay consistent. And consistency is where income starts to build.
Before your first show, test everything once
Do one full trial run before you go live properly. Check how your skin looks under the lights, whether the camera angle flatters you, how your voice sounds, and what is visible in the background. Move around. Sit where you plan to sit. Stand where you plan to stand. Look at the stream the way a paying viewer would.
That small bit of preparation can save you from avoidable mistakes and give you a much stronger start. It also helps with nerves, because confidence grows fast when you know your setup works.
The best webcam setup for beginners is not about perfection. It is about building a clean, attractive space that helps you start now, improve as you go, and turn confidence into income on your own terms.